| Sashiko Paper Patterns Instructions All items are imported from Japan. |
|||
| Sashiko Top | Back to Paper-Pattern page | Joy of Sashiko | EmmaCreation Home |
| "How to Use Sashiko Paper Patterns" Click on the image to enlarge |
|||
 |
 |
 |
 |
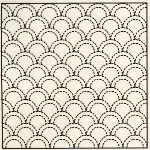
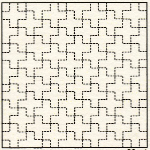
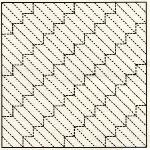
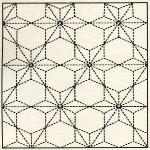
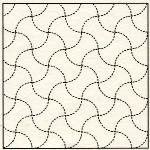
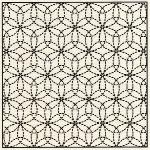
| [Picture 1] | [Picture 2] | [Picture 3] | [Picture 4] |
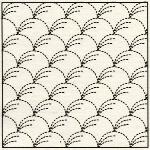 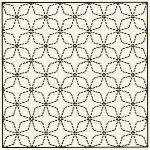 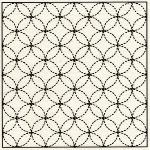 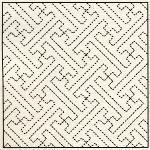 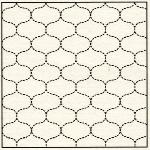 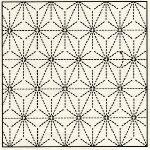 |
About Traditional Sashiko Paper Patterns 1: This is a paper pattern for transferring onto a fabric of your choice. 2: These Patterns are the same size as Olympus Sashiko Samplers. 3: Pattern size is adjustable to your needs; can be enlarged or reduced by a copy machine, or simply use a partial pattern for a small area, or you can take multiple copies and tape them together to create a bigger pattern. Note *Olympus Sashiko Sampler has a pattern pre-printed on Sarashi-momen fabric. The printed cloth-pattern will wash-out. But this paper pattern is not intended to provide a wash-out lines. *Sashiko Paper Pattern broadens the range of Sashiko world. You can use them to transfer onto fabrics of you choice to add an extra touch to your design. How to use a Sashiko paper Pattern Case-1 "Use a paper pattern directly to fabric" (See picture 1) *Use a carbon paper, or fabric chalk to transfer. You can draw the pattern directly onto the fabric. Following is a recommended method: 1: Place the pattern on the right side of fabric and pin the top corners of the pattern to keep it in position. 2: Place a carbon paper in between the fabric and paper pattern, colored side down, and pin the bottom corners of fabric. (See picture 3) 3: Using a tracer pen, trace the pattern. If the pattern consists with straight lines, use a ruler to guide the pen. 4: When the whole pattern has been traced, take a couple of pins out to check if there are any missing lines before removing the paper pattern. (See picture 4) 5: You can start stitching your own design of Sashiko Embroidery. Case-2 "If you would like to reuse the paper pattern." *To reuse the pattern, simply photo-copy the pattern onto a paper before proceeding, or layer the Sashiko Paper pattern with a durable clear plastic like protect sheet or cellophane (See picture 2) from office supply when transferring on to a fabric. 1: Place the pattern on the right side of fabric and pin the top corners of the pattern to keep it in position. 2: Place a carbon paper in between the fabric and pattern, colored side down, and pin the bottom corners of fabric. 3: Using a tracer pen, trace the pattern. If the pattern consists with straight lines, use a ruler to guide the pen. (See picture 3) 4: When the whole pattern has been traced, take a couple of pins out to check if there are any missing lines before removing the paper pattern. (See picture 4) 5: You can start stitching your own design of Sashiko Embroidery. |
      |
|
| *Iron-on-transfer-pen can be used instead of Carbon paper. |
|||
| Copyright © 2004 EmmaCreation All rights reserved. 30011 Ivy Glenn Dr. Ste 122 Laguna Niguel CA 92677. Phone&Fax 949.249.8148 Terms and Conditions |
|||